Let it Snow!
Creating Snowflakes with Hot Glue and Glitter
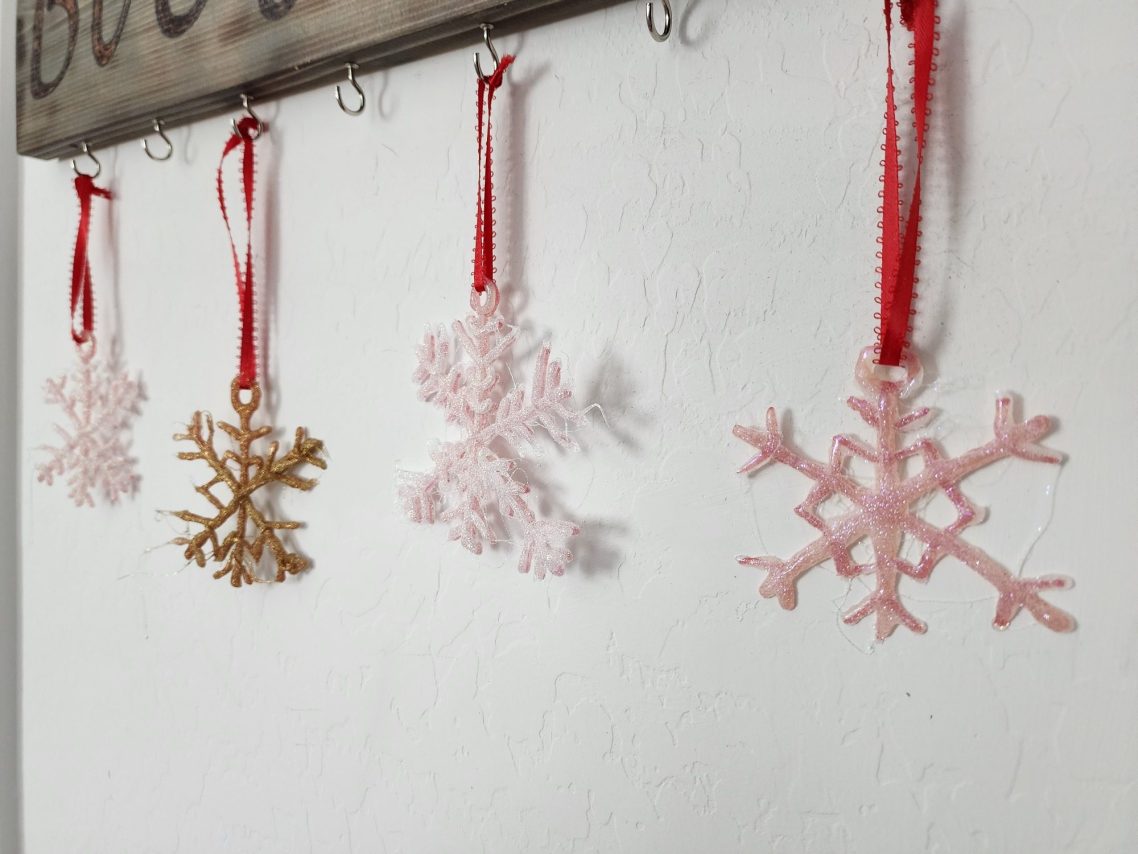
The holidays are just around the corner, and to us in Arizona, that means FINALLY cooler weather!! Can I get a HALLELUJAH!! For my house, it’s never too early to start thinking about Christmas and decorating (though my husband might strongly disagree, he has come to recognize that a happy wife is a happy life). Sooooooo…bring out the hot glue and the glitter!! It’s time to make our own Arizona snow!!
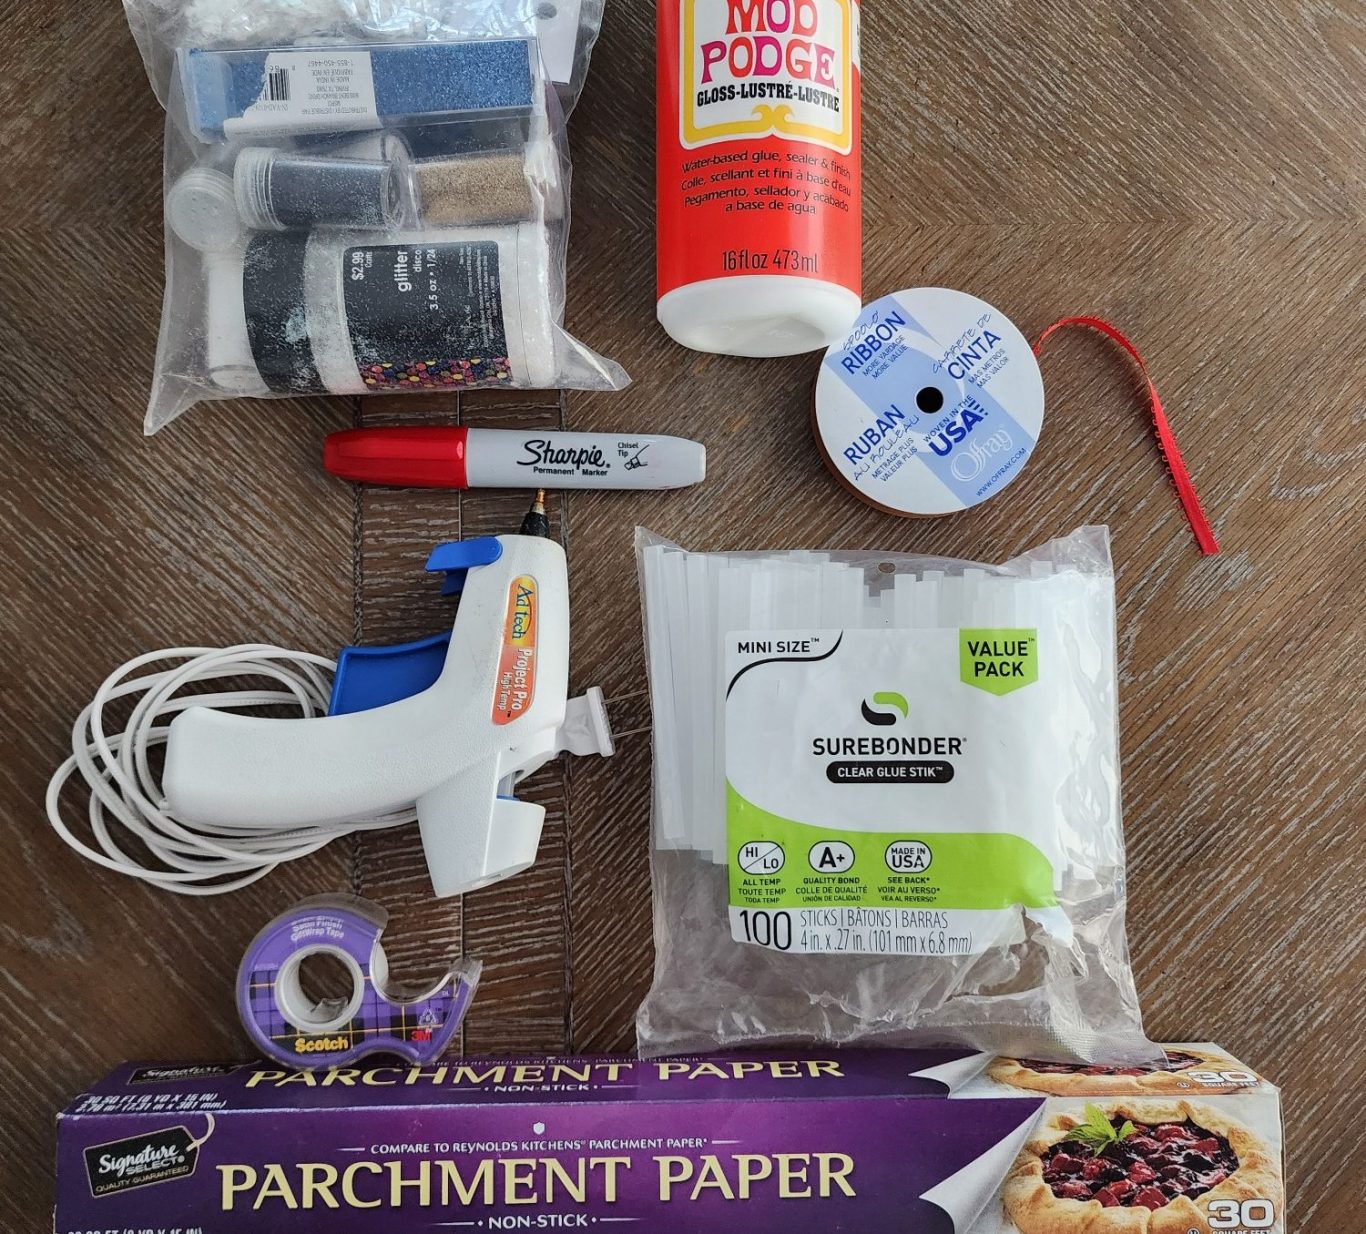
Things you need for this project:
- Hot glue gun (mini works just perfect for this project)
- Hot glue sticks (I use the all purpose kind)
- Glitter!
- Chunky, fine, whatever you have on hand
- Any color! Be as traditional or as fun as you want!
- Parchment paper
- Permanent marker
- Ribbon, thin wire, or clear fishing line
- Mod podge or another type of topical sealer (optional)
Sidenote: Parents, if you’re not comfortable with your little ones operating the hot glue gun, by all means, you do the gluing, and the kids can spread the glitter cheer!
Step 1:
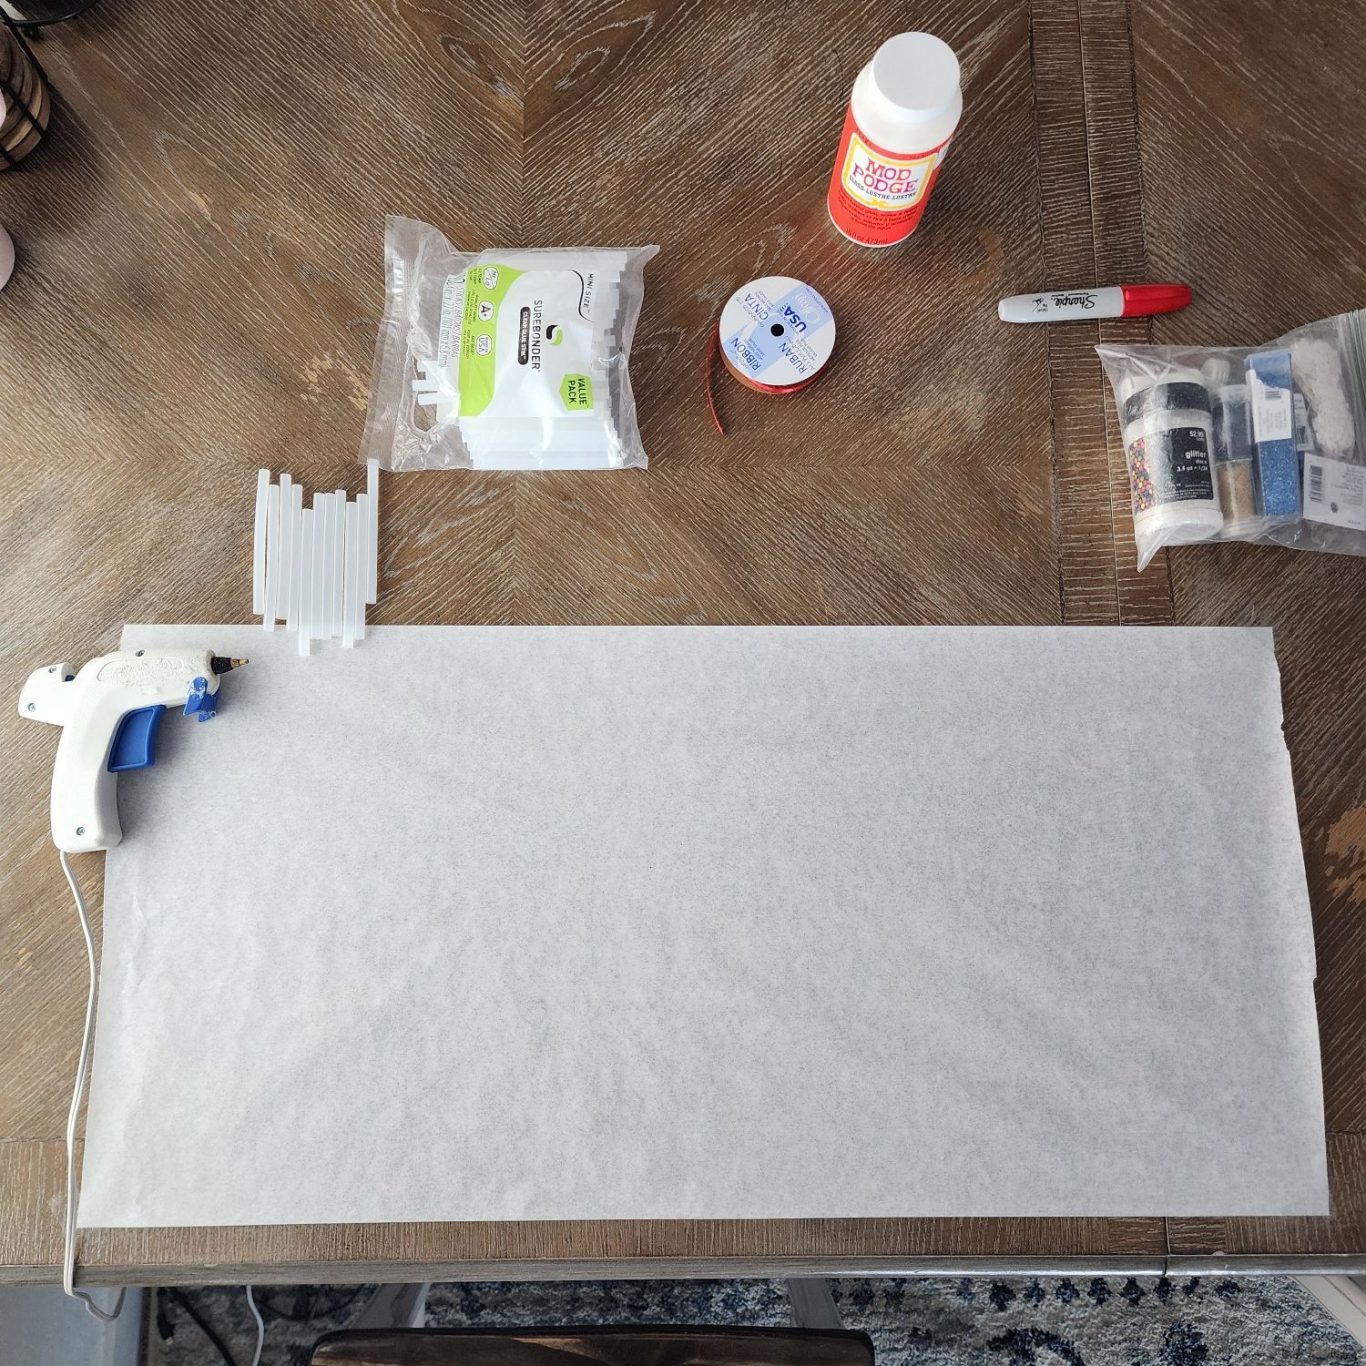
Arrange parchment paper in large strips on the surface you will be using (the glue won’t stick as easily to the parchment paper, and you should be able to peel them off when finished). I like to tape the edges down so they don’t slip around.
Step 2:
Plug in hot glue guns and make sure they are loaded with glue sticks.

Step 3:
While waiting for hot glue guns to warm, take the permanent marker and draw different snowflake shapes on the parchment paper, as big or as small as you want.
- If you don’t want to draw them, you can print out some easy designs, place the paper under the parchment paper (tape down so it doesn’t move) and trace it with the permanent marker or just with the hot glue if it is easy enough to see through the parchment.
Step 4:
Use the hot glue gun to carefully trace the lines of the snowflakes. Make sure the lines are thick enough they won’t break or tear off (you may have to go over some of the lines more than once).
- I also like to make a little loop at the top of the snowflake so I can attach the ribbon.


Step 5:
As the glue starts to dry, sprinkle the glitter over the top and cover the snowflake completely!
Step 6:
After the glue has dried, lightly cover the snowflake with the Mod Podge (or sealer) to help prevent spreading more glitter everywhere.


Step 7:
Once the snowflake is completely dry, gently peel away from parchment paper and attach ribbon.
Step 8:
Hang wherever you want and enjoy!

P.S. This method can also be used to make icicles. Follow the same guidelines, only this time make sure the shape is thicker at the top and narrower at the bottom to simulate the natural drip of the icicle.
As we go through this craft as a family, I like to point out to my girls that each and every snowflake is unique. There are no two snowflakes that look alike. God made them this way on purpose, so each one is special in its own way, just as he made each one of us special in our own way. We remember that we are “fearfully and wonderfully made”, and we are made perfect in His image. This is an easy way to remind the kids that they were made for a purpose and that God has a plan for them!
We hope you have so much fun creating snowflakes and memories!! Enjoy!!
We need your consent to load the translations
We use a third-party service to translate the website content that may collect data about your activity. Please review the details in the privacy policy and accept the service to view the translations.
