Make Your Own Christmas Magic!
Easy DIY Painted Ornaments for the Whole Family!

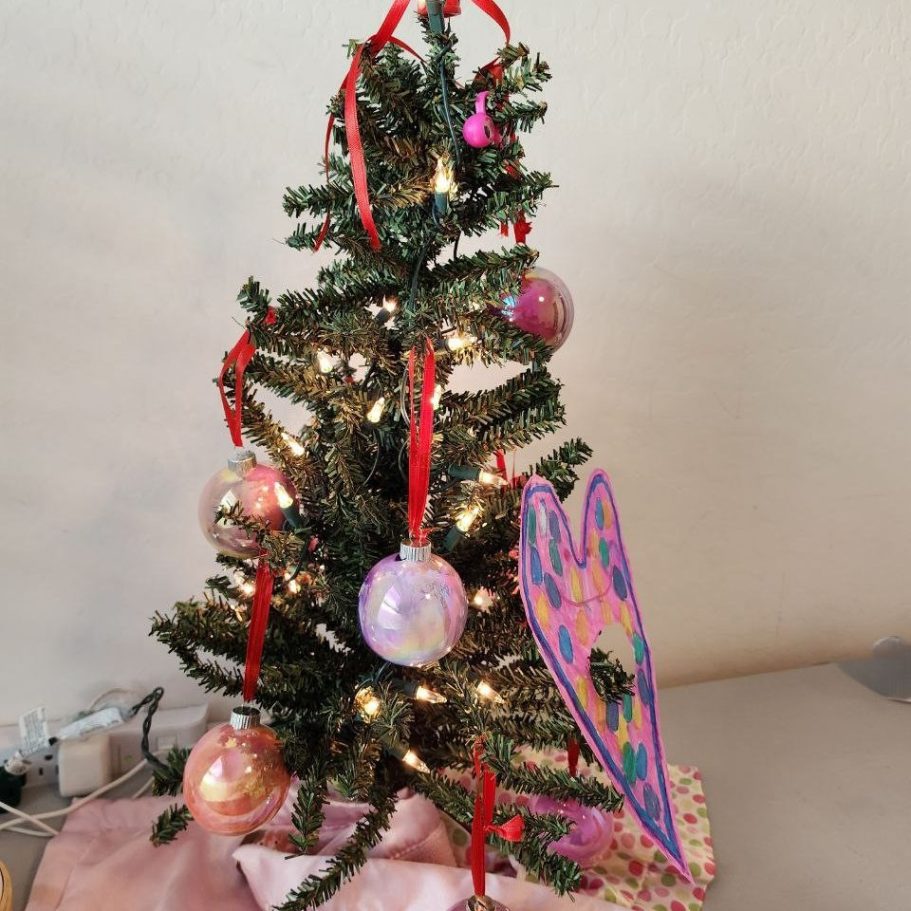
Have I mentioned that I LOVE THIS TIME OF YEAR?! There are just so many wonderful things going on, and yes it seems so busy, but it’s as busy as we make it. My husband and I have been getting so tired of the rat race and commercialism that has taken over Christmas (I mean, truly it’s been this way for years, but it seems more intense all of a sudden), and we talked about trying to calm things down in our own house and readjust our focus. Instead of the girls getting a bunch of toys and clothes they don’t need, we decided we would cut down on the gifts and bump up the family activities. Now, my kids are still fairly young, and they love receiving presents, so we’re working on explaining to them we were going to be doing more “things” together as a family. This would include going to parades, baking cookies, looking at lights, visiting Santa, playing games, reading books, watching fun movies, and making Christmas crafts! The girls were very excited to hear about all the things we were planning for our family, and so far have had no complaints! One craft I was really excited about making were these painted marble globe ornaments. Not only are they shatterproof (thank you plastic!), they look beautiful and the girls can put them on their little trees in their rooms. Follow along as we make these together!
These are super easy and fun to make, and the kids love them! We typically choose the iridescent finish, but the normal clear ones will work, as well., and look just as beautiful!
(And YES, they will still receive some presents...we're not complete Grinches!)
Supplies:
- Plastic globe ornaments (I get mine from Hobby Lobby, but you can use any type you like!)
- Craft paint in various colors (Again, these happen to be from Hobby Lobby, but I have also used the craft paint from WalMart and they work just fine!)
- Ribbon to hang ornaments (forgot to put it in the picture, but I used 1/4 inch red satin ribbon from WalMart for this project)
- Ruler and Scissors to measure and cut the ribbon


Step One:
Make sure to wipe clean the outside of the plastic ornaments. All of the ornaments in the packages I bought had a thin film that came off with gentle wiping. There were still some scratches on the outside, but they were less visible once the paint was inside.
Step Two:
Pull the top (hanger) of the ornament off and set aside. DO NOT THROW AWAY!! You will need them to be able to hang the ornaments after they are done drying.


Step Three:
Pick a few colors, as many or as few as you like, and squeeze a fair amount into the globe. You can always add more paint if there isn’t enough to coat the entire inside of the ornament.
Step Four:
After adding all your colors, turn the globe so the paint coats the inside of the ornament and you can no longer see any open spaces. If you do still see some clear spaces, just add a little more paint and keep turning until the clear space is covered.
Step Five:
Set ornaments down to dry. If you have a space where you can set them upside down and the paint can drip out, that will work well and the ornaments won’t be as heavy. If you don’t have this ability, or just don’t want the mess, leave the globes laying straight up or on their sides so the pain can dry.


Step Six:
Replace the top (hanger) of the ornament. This can take a few tries...they can jump away from you sometimes!
Step Seven:
Choose your favorite ribbon and cut about a 6-8 inch length to tie and create a hanger for the ornament.
Step Eight:
Hang and enjoy!


We need your consent to load the translations
We use a third-party service to translate the website content that may collect data about your activity. Please review the details in the privacy policy and accept the service to view the translations.
